At the time I decided to do the jam my schedule was a lot more free . Unfortunately life happened, my workload increased and I had a bout with the worst sickness I recall every having in my lifetime. I could have easily given up and not submitted to the jam but I decided instead to massively scope down to get something complete and submitted. I consider this a big victory for myself.
The game is not particularly fun, in fact I would recommend watching a youtube video of the game being played rather than downloading and playing the game. In fact you can do that right here!
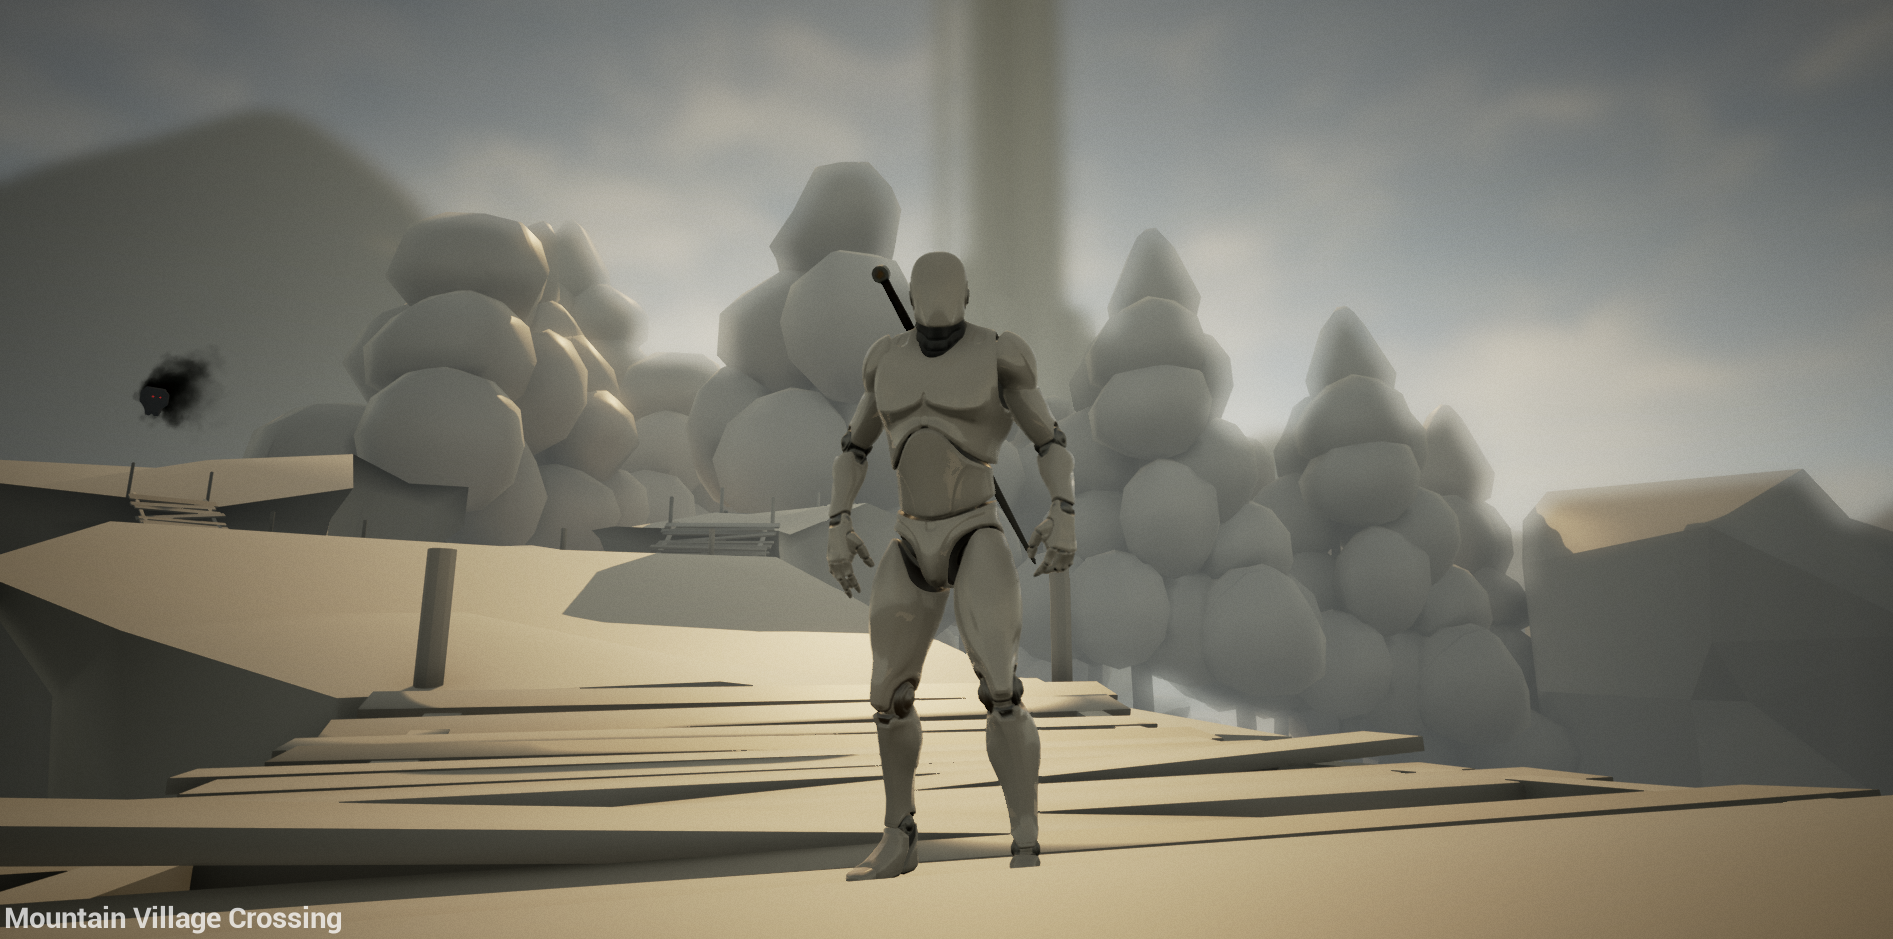
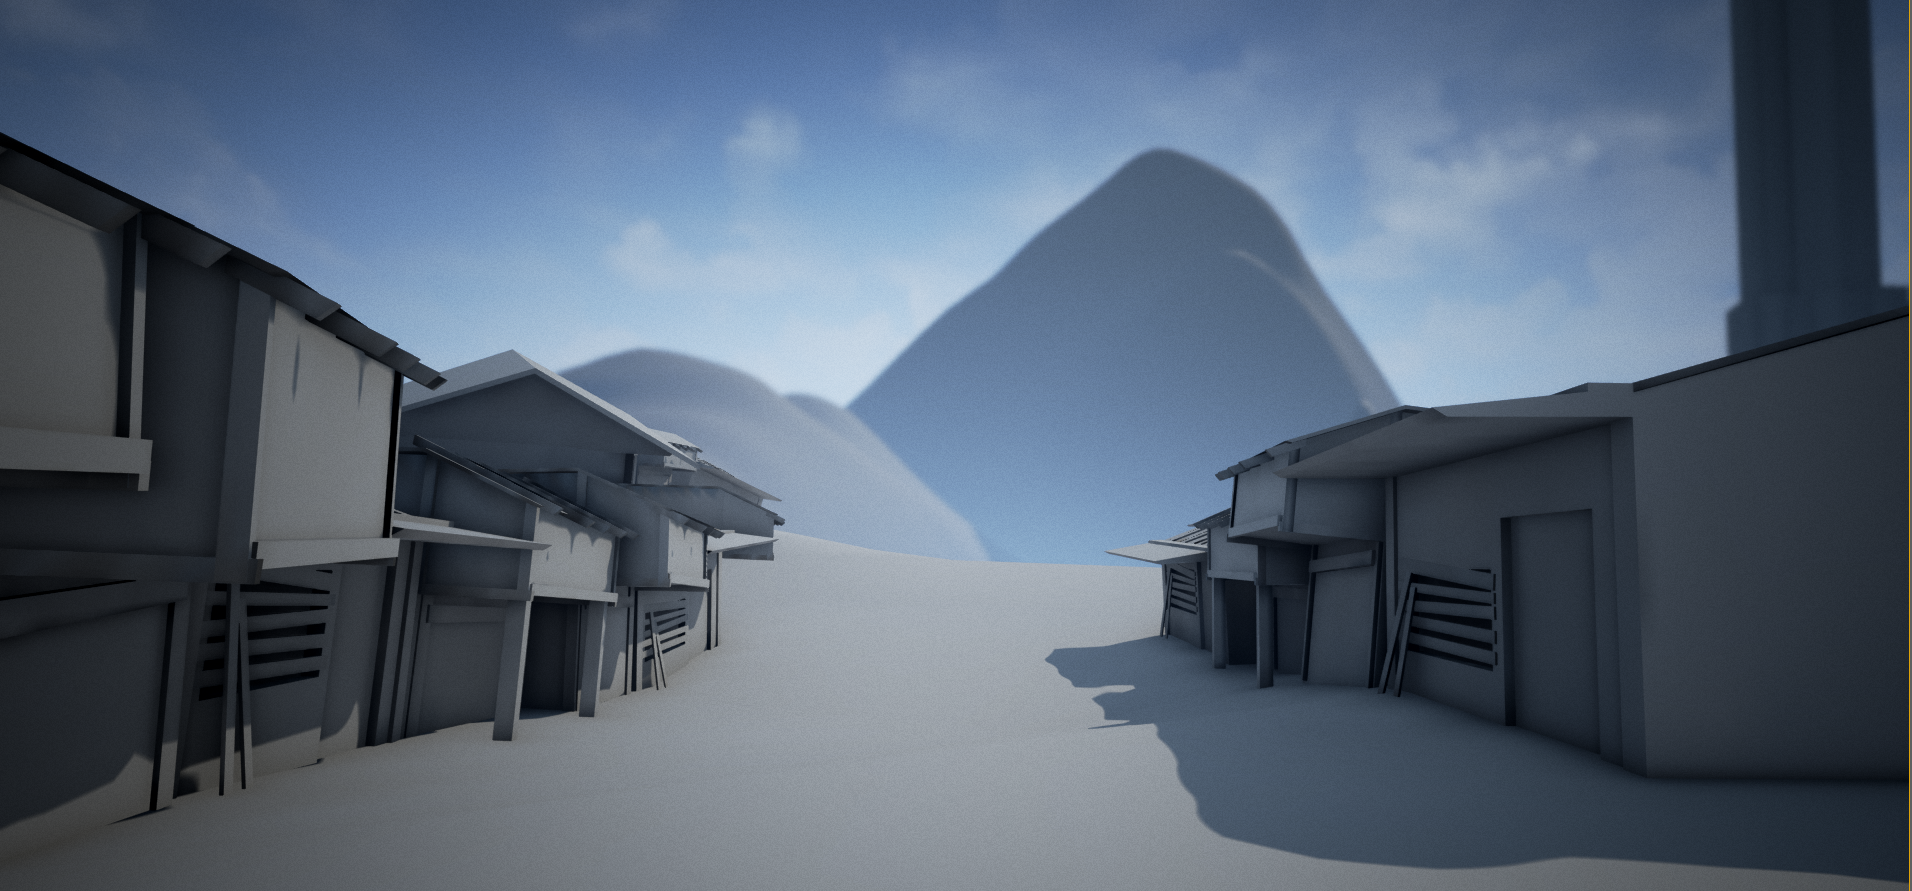
Here’s some screenshots of the final game.
One of the development goals for this jam was to really dig into the aspects of the Unreal engine I’m unfamiliar with. This includes but is not limited to :
Character animation state machines - AI – Blackboards - AI – Tree editor - Matinee - The C# build system - Input abstraction - Blendspaces - UMG
I can now say I’m far more familiar with these systems. I’m so glad I dived into AI and character animation state machines because I previously feared working with them due to unfamiliarity with those types of systems but now that I understand them I feel I’m really able to use them effectively now. In fact I’m now wondering why I was so fearful of learning them in the first place.
In fact I think after this project, future projects in the Unreal engine will be more about making the game rather than spending most of my time learning how to do something in the engine itself. Unreal has a pretty steep learning curve if you want a holistic education but it’s well worth the time. I’ve used other engines in the past where getting something functional is quite easy but this comes at the cost of a project being tough to maintain when it starts to grow in size. In some cases the issues at scale are so bad that ultimately not using an engine would have actually been less time consuming. Unreal seems to handle this well and the dearth of large scale games that have already been released on the engine over the past decade is further proof it’s a capable engine.
The final bits of work I had to do to get my game complete was to implement an enemy. This means I had to learn how AI works in Unreal. Lucklily from a conceptual standpoint the methods Unreal uses to implement AI are very standard in both the game and AI world. I’d been exposed to the concept of blackboards in previous non-game related jobs I’ve had and behavior trees I’ve seen used in other engines I’ve worked with. That said I still had to learn how to use them in the context of Unreal.
Now I’m far from a professional AI programmer so take my opinion with a grain of salt but I think Unreal has done a very good job implementing tooling for AI via their blackboard and behavior tree editors.
A blackboard is essentially a set of key/value pairs where the value is a variant. In some implementations I’ve used the type of value is unknown so you have to remember what the type is and apply appropriate casts when getting and setting values from the blackboard.
Here’s what a blackboard looks like. As you can see it’s just a group of data that we wish to track. Unlike other blackboards I’ve used I can deduce the type of a value to some degree.
InUnreal implementing a blackboard was dead simple. I merely define the data that I’m interested in tracking and then periodically update the data in my enemy controller blueprint. From there I bind a blackboard to a behavior tree and use the data in the blackboard to make decisions in the behavior tree.
Here’s the relevant section of my controller where I update and set values in my blackboard. What I’m doing here is updating the “Target” value every update along the bottom line of execution.
The behavior tree editor was easy enough to use after I got past some roadblocks. I have to admit for a few hours I was quite stuck. This is partially due to some lacking documentation and partially due to my inexperience with the editor. My main issue was I wasn’t able to determine how to setup various conditional tests in a behavior tree node. It was only after looking around the unreal forums at screenshots of other peoples trees that I realized a tree node can be modified with decorators to execute the conditional logic to determine whether a node should be traversed or not. For instance I would have a node that tells the enemy to follow a target if they are within range of said target.
The other gotcha for the behavior tree is that task nodes such as an “approach target” task are only visible to be added to the tree if the appropriate type exists in the accompanying blackboard. So for the “approach target” node to show up I need an actor reference node in my blackboard. This makes sense but it was initially confusing to me as I was merely looking for the existence of the task when playing with the editor. Now that I know this restriction I’ll make sure next time I want to look for a pre-defined task that I have what I believe to be the necessary data already in my blackboard.
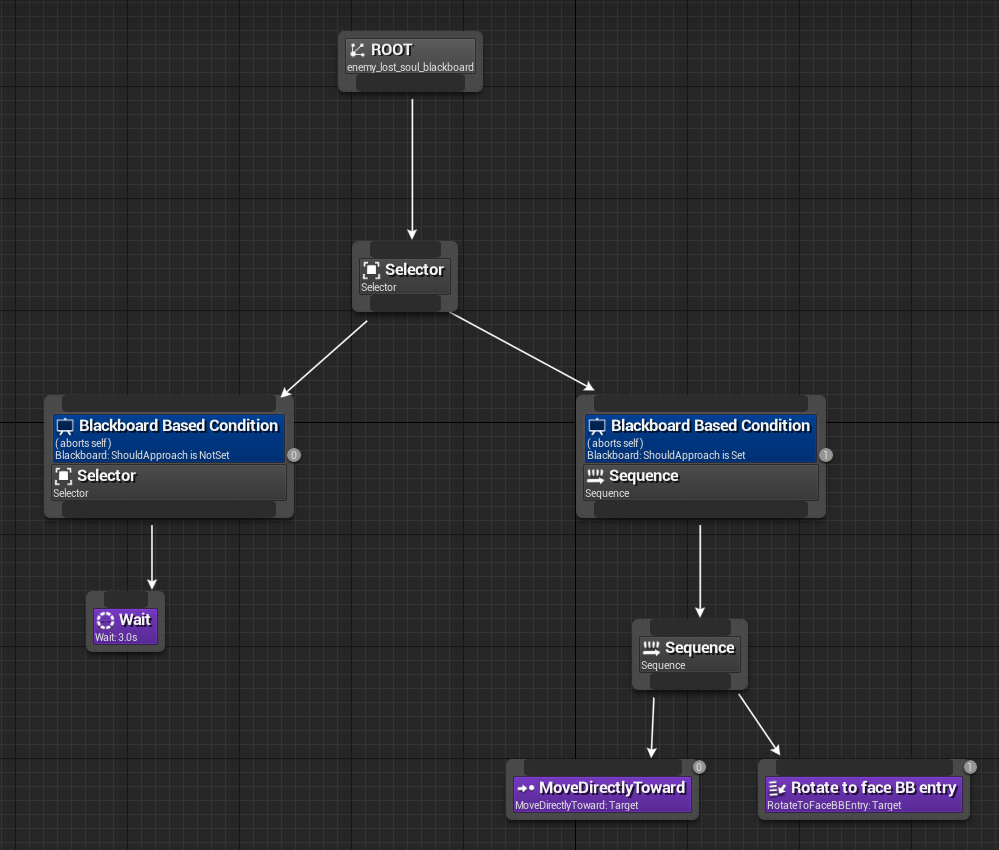
Here is what my enemy behavior tree looked at the end of the project. The decorator value for determining whether or not the enemy should approach is a blackboard value set from the controller blueprint. I suspect I could have gotten rid of that bool and replaced on a validity check to the target actor reference. I will definitely look into doing that in the future (the less state the better).
You can learn more about blackboard and behavior trees here :
I’ve been working on getting the character setup for movement and a simple attack combo system. This is my progress on the character at the time of writing this post.
This post was written in 3 parts as I progressed through the process of setting the character up.
Part 1
To start off I’ve added 2 new action mappings to the project for light and heavy attacks. I’m very impressed with the action mapping stuff. It’s a nice way to add new actions to characters without locking yourself in too much at the code level. By that I mean when you want to define a new action mapping (aka input abstraction) you go to the project settings, choose the action mapping type and then give it a name. The name you give the mapping is what you use across the editor and the codebase to refer to the mapping.I’m not usually a fan of stringly typed stuff or using strings to reference data from code but I think in this case it’s actually a quite elegant solution as it allows easy extensibility and you can add new mapping without having to recompile the code portion of the project.
For instance to bind an light attack named “AttackLight”I would use this line of code in my character cpp file.
Where I’m referencing the action name I defined in the projects settings as well as a callback when the action event occurs. Inside the callback I set a bool called IsLightAttacking to true and later let the animation system use that to determine what animation plays.
The animation system is a little complicated at first but I’m now at the point where I can see the value in such a complex solution. It consists of many different components. Code, blueprint event graphs, special state machine graphs and state transition graphs. I’ve had some experience setting up characters in source and quake engines but this was quite different from an implementation standpoint. It took me about 3 hours of studying until I got comfortable with the tool. Compared to other tools I’ve used in the past is about the fastest ramp up time I’ve ever experienced.
Here is the starting point for learning about how character animation works in unreal.
Once I got the light and heavy animations and working I started looking at how I could do Devil May Cry style combo attacks where one attack animation can be cancelled into another attack animation. I started out by purchasing a package of sword animations from the Unreal marketplace. I had a 30$ credit from when Unreal 4 went free so I figured this was easily worth the money. The animations I used are available https://www.unrealengine.com/marketplace/sword-animset-pro
My first attempt to get it working as fast as possible so I can see something on a screen was both naive and ugly. If I was in the first attack in a combo I set it to allow switching to the next animation in the combo if the player pressed the attack button and the current animation was more than 50% complete. This caused the animation to change far too abruptly.
Now I want the animation to change abruptly. The term itself is called cancelling so I figured I had the right overall idea but I’m just approaching it too bluntly. So I went back to the unreal answer hub with specific questions which didn’t answer my questions but linked to the relevant documentation.
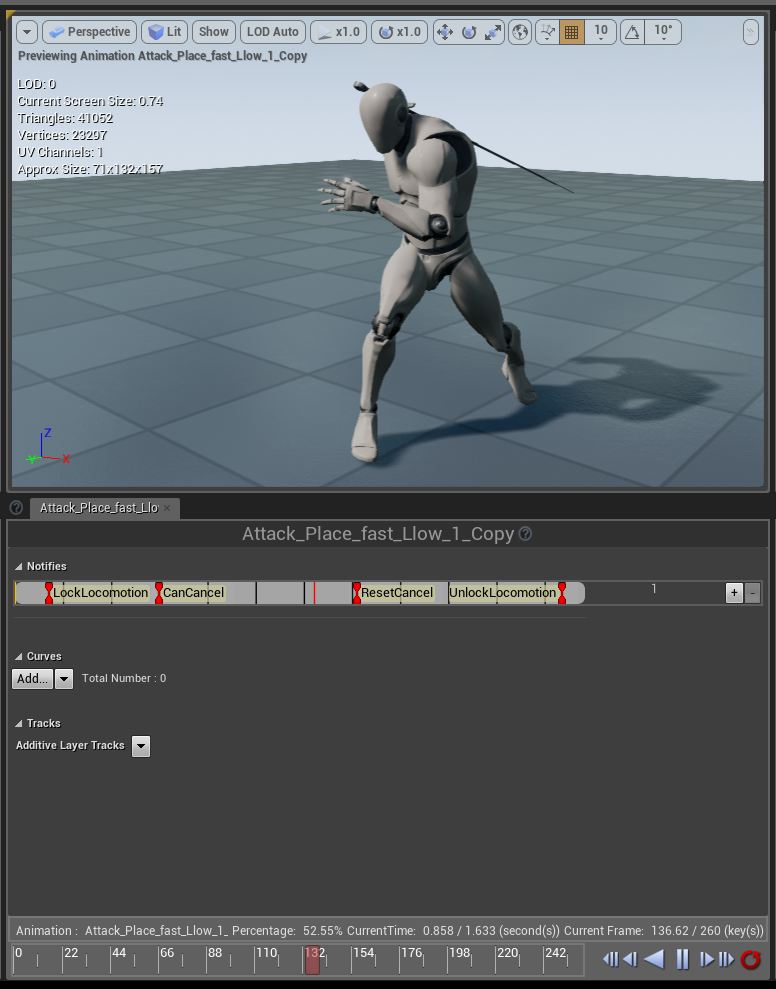
After reading the docs I determined that the next step to improving the animation transitions was to pick the transition points with more care than simply allowing it after the animation was more than 50% complete. For this I used animation notify events. Here’s a screenshot of them setup in the timeline. As you can see I have 4 custom events. The regions CanCancel and ResetCancel define the portion of the animation that the user can cancel into the next attack.
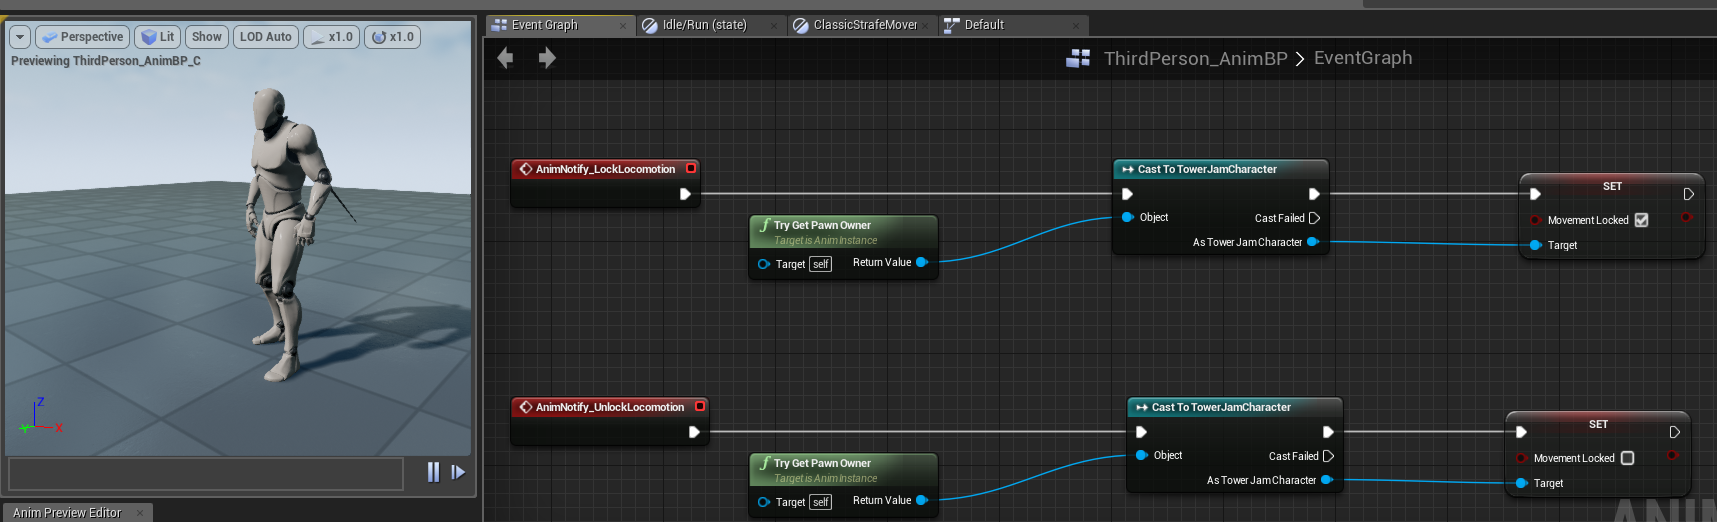
Here is a screenshot of where these events are used. This is inside the animation blueprints event graph.
At first I thought my animation notifies weren’t working correctly or were inaccurate. This was exacerbated by the fact animation notify events have a property called “montage tick type” which seemed to indicate the timing accuracy the event was fired. I chose the more accurate but also more computationally expensive “Branching Point” value. It turned out the biggest issue was that I don’t have an eye for animation and I had simply placed the animation notify at a badly chosen location in the animation timeline. I moved the notify events to earlier points in the timeline than my instincts initially thought was correct and everything started looking good.
Once I sorted out how to cancel an animation based on an animation notify event things were massively improved but I had accidentally set the blend logic transition property to “Custom” when I was playing with options and suffered a bug. The character model would T-pose for the duration of the animation transition. The temporary solution was to set the transition duration to 0.0 seconds. By removing the transition I removed the T-pose error. Ideally I’d like to have a slight transition between animations. It might turn out that it will look bad but I would at least like to see how it looks before deciding whether or not I want to use transition blending. Once I set the Blend Logic property back to “Standard Blend” everything was solved.
Once the blend was in I was BLOWN AWAY by how good it looked. In my head it seemed like animation blending couldn’t possibly yield such great results but I was dead wrong. This first attempt was with the linear blending mode. Here is the first combo results. The first animation is cancelling into the next one.
Part 3
Finally to wrap it up I decided I would add 2 major “hub states”. This is to say I have 2 idle poses. A standard idle pose with the characters weapon sheathed and an attack stance which the player must be in to execute attacks. When in the attack stance the players movement speed is reduced.
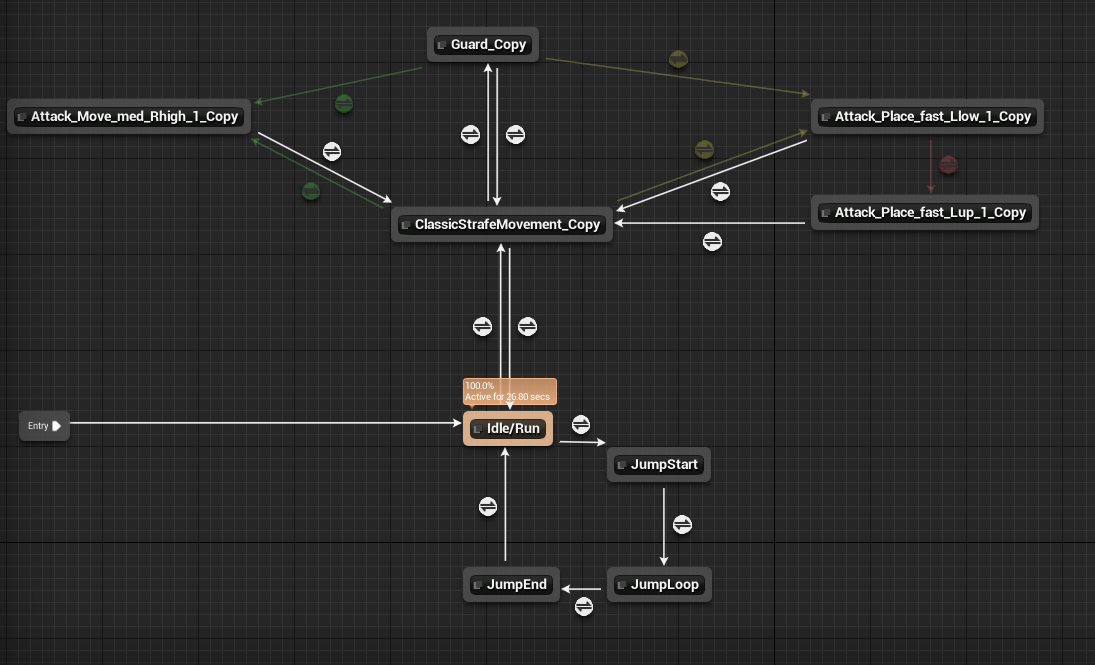
Here is the state machine graph that shows a general overview of the flow between all the animations and animation states.
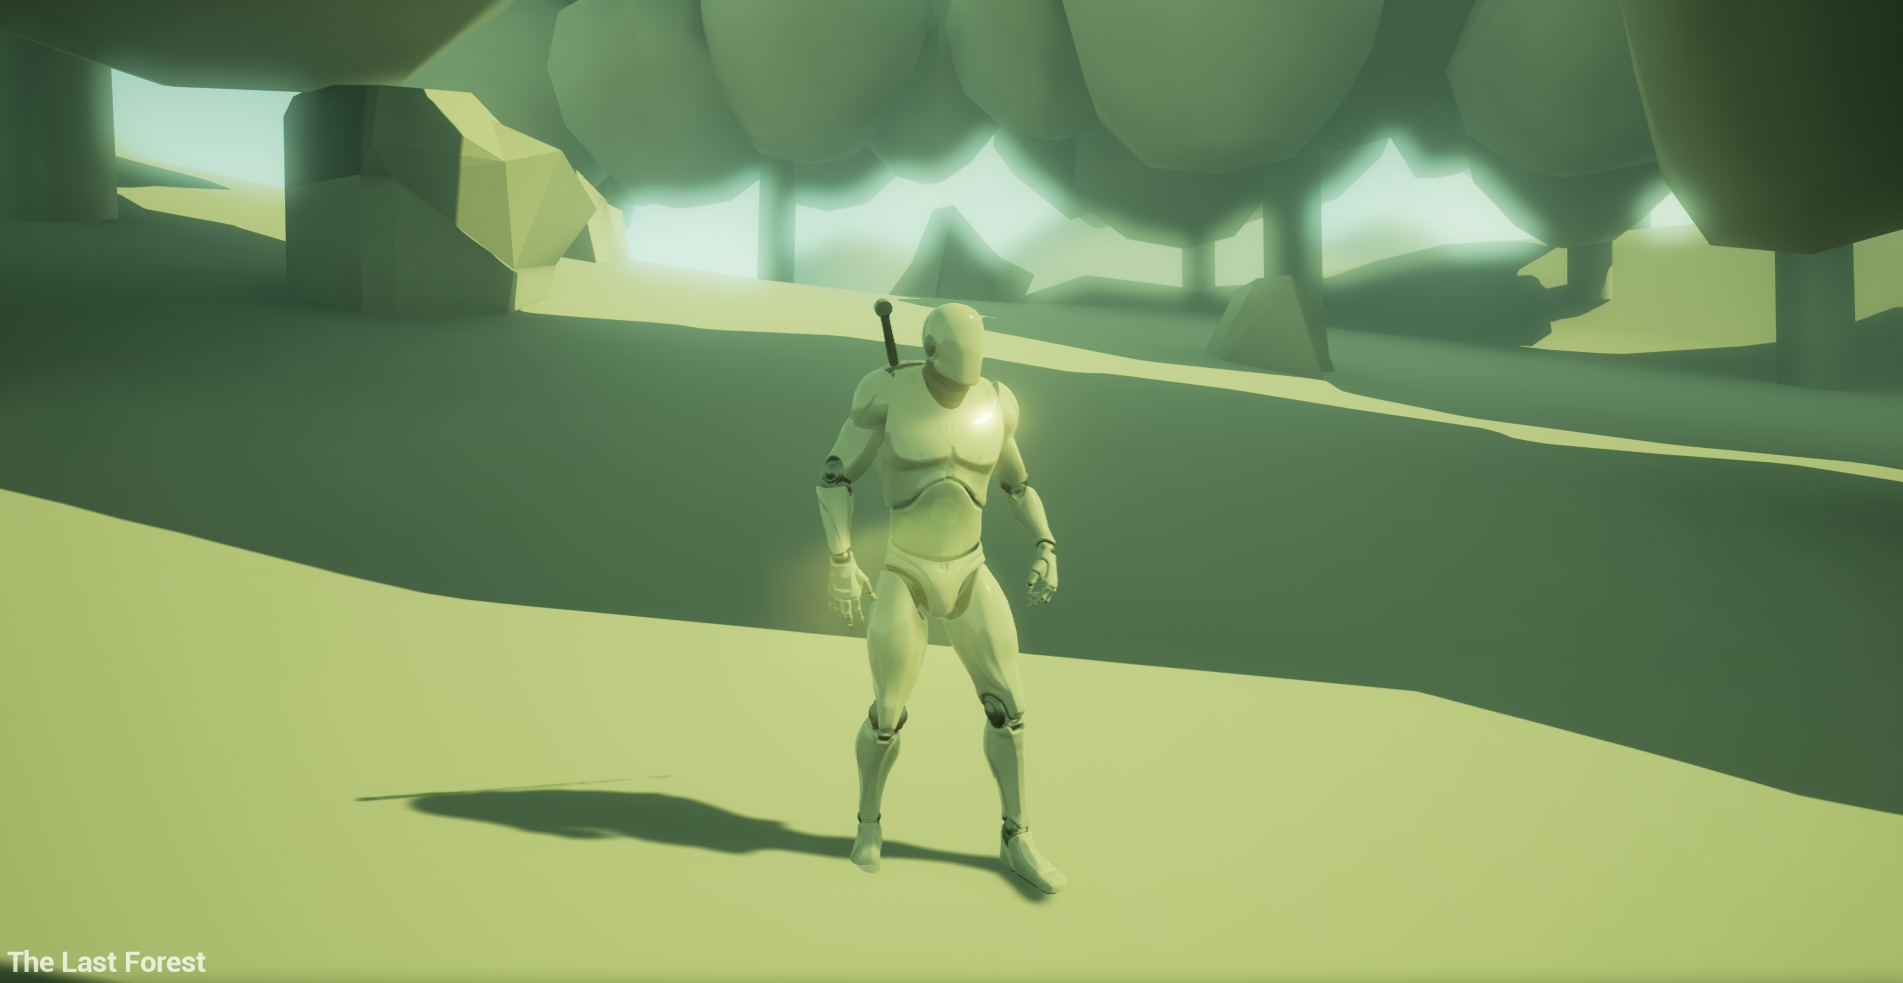
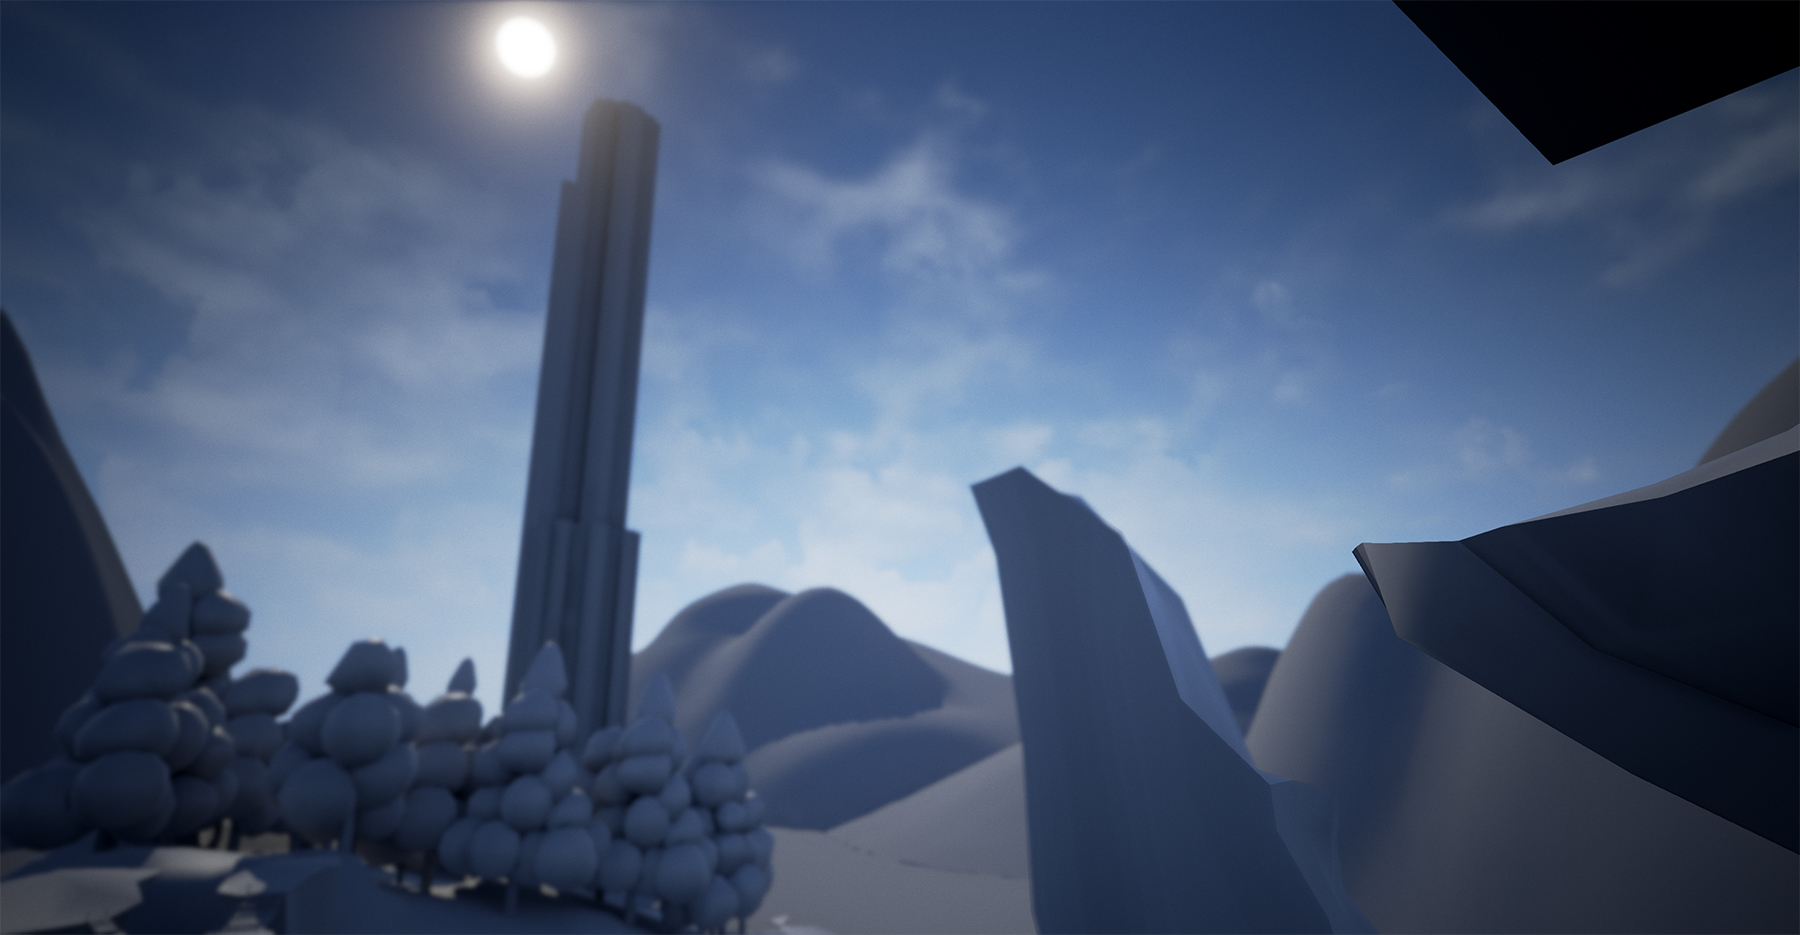
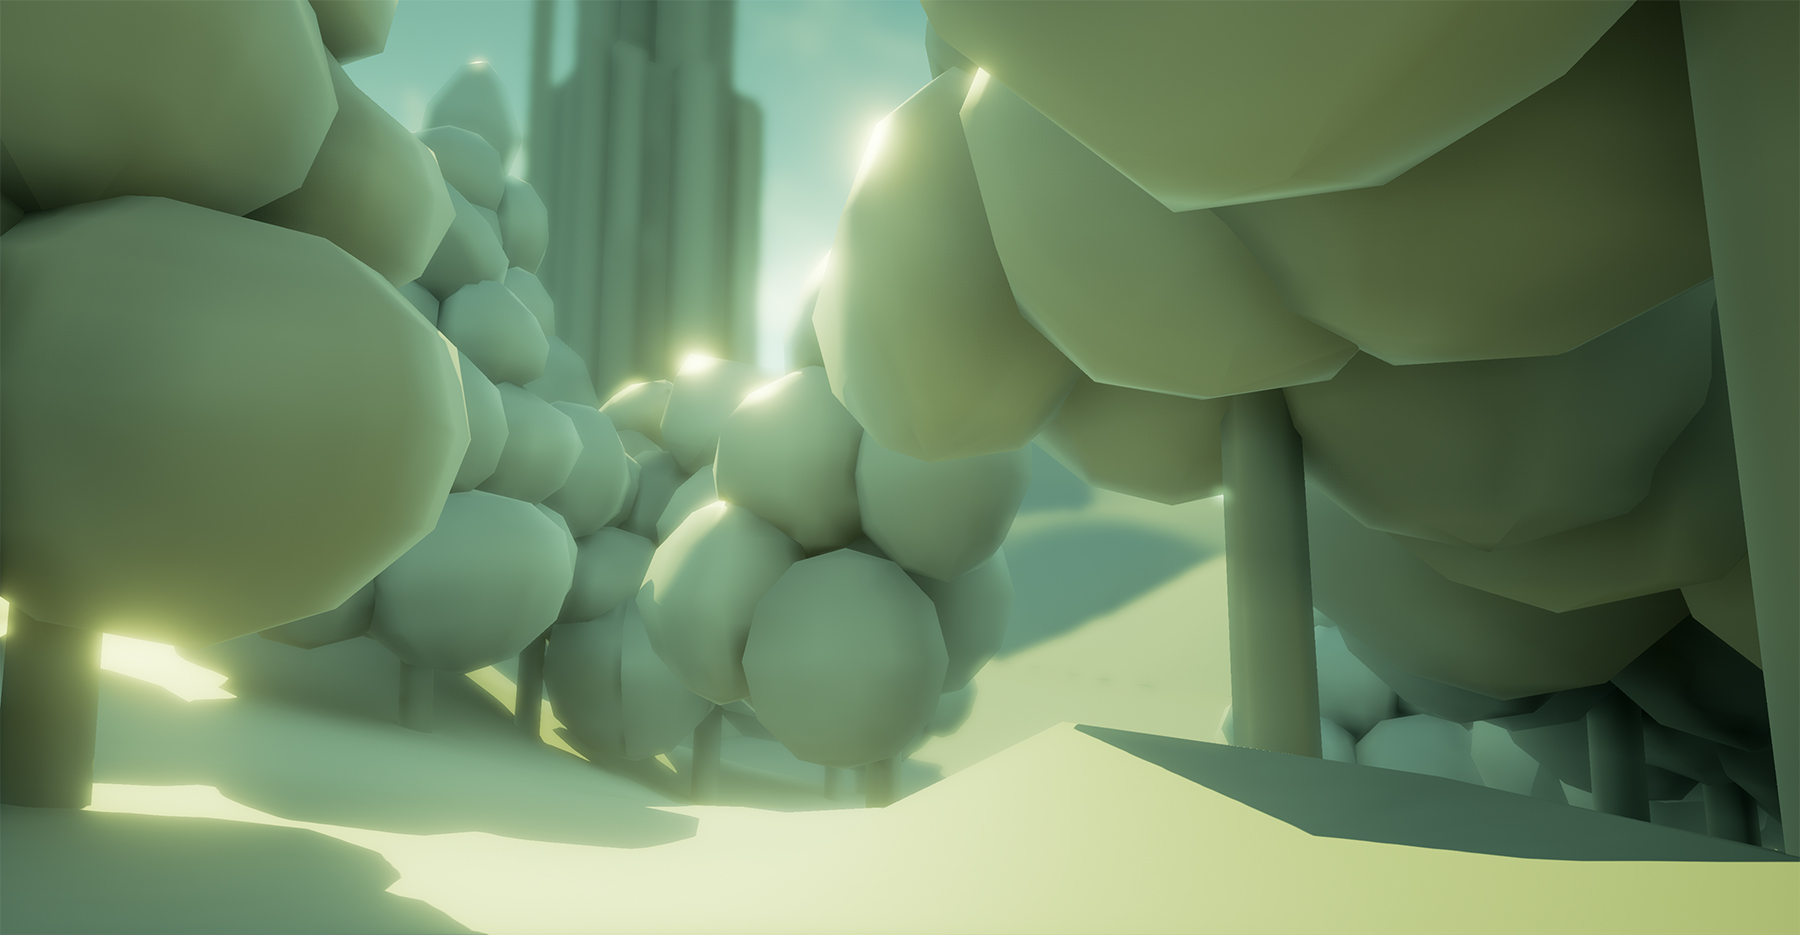
Did some work this morning on finishing up the base of the bridge area and adding in the forest area. Now there is a complete path from the starting point to the tower. As you move towards the core of the forest I change the tint towards a washed out greenish color.
I also took a second to step back and focus on what to do next.
Add attack animations and logic to the character - Finish the graph paper floor plan for the first floor of the tower - Setup the streaming level system to allow me to transition into the first floor of the tower
Here’s some screenshots of the forest and bridge areas.