Creating a game-specific runtime occlusion algorithm in unity
2023-12-19
The need for runtime occlusion culling
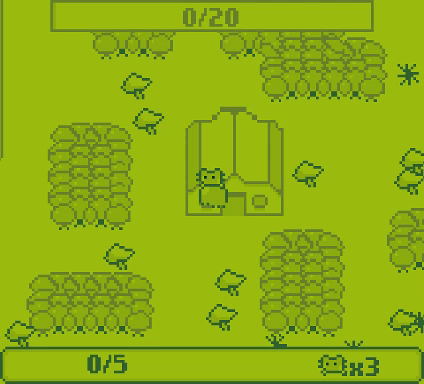
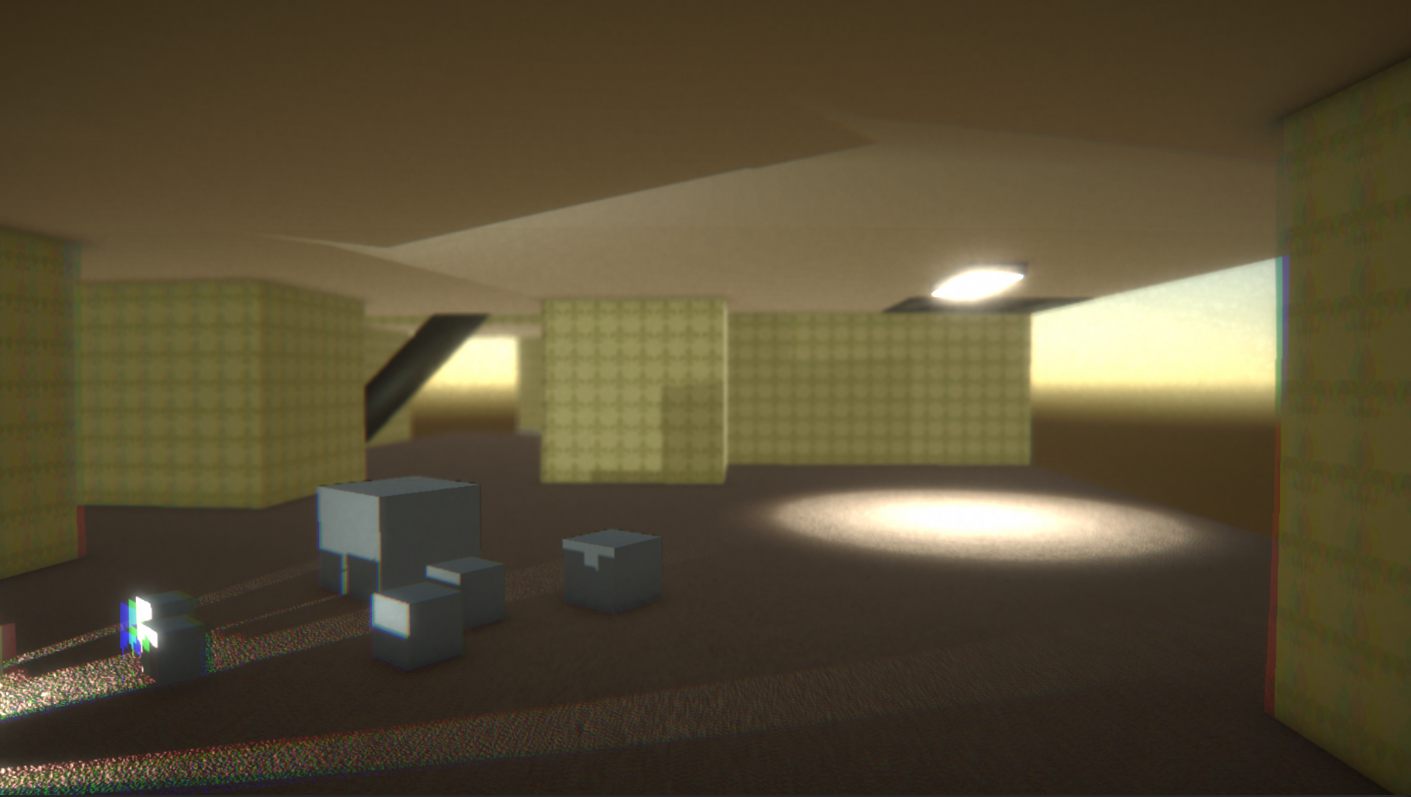
I was recently contributing to a small Unity engine game based off the Backrooms, a large fictional repeating world with a sort of mundane, brutalist architechture. Here's an example of what a Backrooms world might look like :

Each time the game is played the world is 100% procedurally generated at runtime. With Unity this can become a performance concern due to a lack of dynamic culling.
When it comes to culling Unity currently has 2 methods: Frustrum culling and pre-calculated occlusion culling. Since this world is generated at runtime we cannot use Unity's built-in occlusion culling system as it requires editor-time static geometry to build the occlusion structure in an offline process. Therefore we have no way of culling objects occluded by walls so we are forced to render all objects intersecting with the camera frustrum despite the majoity of these objects not being visible.
Writing a general purpose dynamic occlusion culling algorithm is not an option because that would take a significant time investment and developer effort. My goal is to get this specific game's performance to an acceptable level with as little effort as possible.
Taking advantage of our games world structure for occlusion
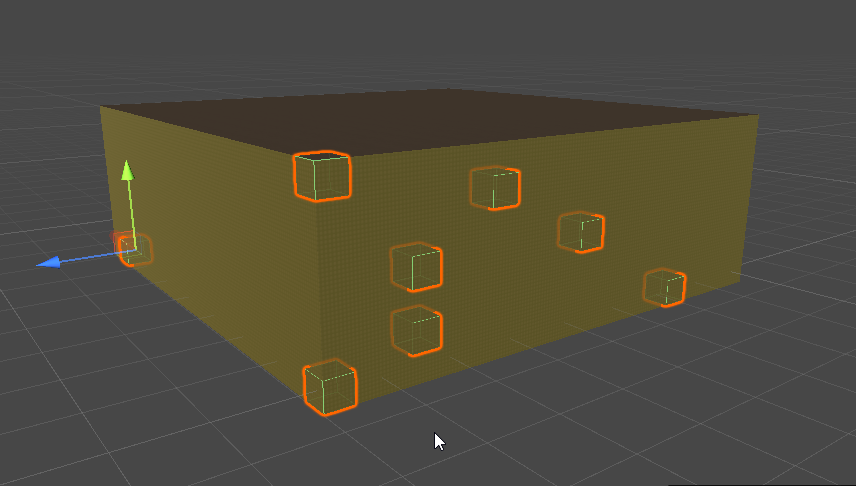
After some thought I realized our projects world structure just happens to be very useful for runtime visibility culling. The world structure is a giant 3d grid of cells. What's useful to us is each cell has properties that allow us to tell whether or not it can block visibility.
Here's an example of the exterior and interior of the structure with various cells randomly selected.

With this world data structure it's now viable to make a specific runtime occlusion system that is much simpler to implement than a general purpose system.
By treating the world data as a sort of rough visibility data structure I was able to make a runtime occlusion culling system and implement it into the game in about a day or so.
Performance comparison
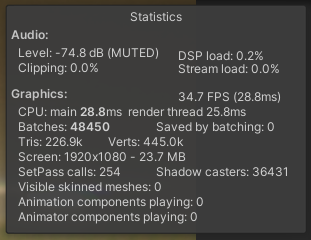
To get started I'll give the worst case performance numbers with the system disabled and enabled. All tests are done on my nearly 10 year old computer with a GTX970 gpu. The test consists of the user standing at one corner of the grid and looking towards the opposite corner to try to get as much geometry inside the camera frustrum as possible.
Occlusion culling system disabled (default Unity behaviour)
- Framerate : 34.7
- Render thread : 25.8ms
- Batches : 48450
- Tris : 226.9k
- SetPass calls : 254
- Shadow casters : 36431
Occlusion culling system enabled
- Framerate : 83.2
- Render thread : 9.0ms
- Batches : 8833
- Tris : 48.9k
- SetPass calls : 120
- Shadow casters : 3588

As we can see the improvement is profound. Now in the worst case we are well above 60 fps. The biggest gains seem to be around the ~90% reduction in shadow casters.
For those not familiar with the backrooms videos. They often involve a lot of subtle shadows and flickering lights. I wanted to be able to use dynamic shadowcasting lights extremely liberally. The issue is that without any runtime occlusion culling the majority of shadow casting lights we render are not visible and contribute nothing to the final image.
Now that we have occlusion culling I no longer have to worry as much about how many lights are on the screen in total.
The occlusion system details
The system is extremely simple due to our data structure. Essentially there's 2 passes. A broad pass and narrow pass. The broad phase does takes the easy low hanging fruit and culls the majority of the cells with extremely simple logic then passes the results to the narrow phase to do some more computationally expensive culling.
The broad phase
This phase is dead simple. Our world is a 3d cube containing 3 floors. It's almost as simple as not drawing the floors that the player is currently on. Here is an example of what the exterior of the world looks like with no occlusion culling.

Here is an example of what the world looks like with broad phase culling applied.

There is one slight gotcha though. We have stair cases and holes between floors the player can look through so we need to prevent culling of the floors around a player to prevent them from looking into a void. From playtesting it was found that a 5x5 tile column around the player avoids issues related to the player seeing into a void.
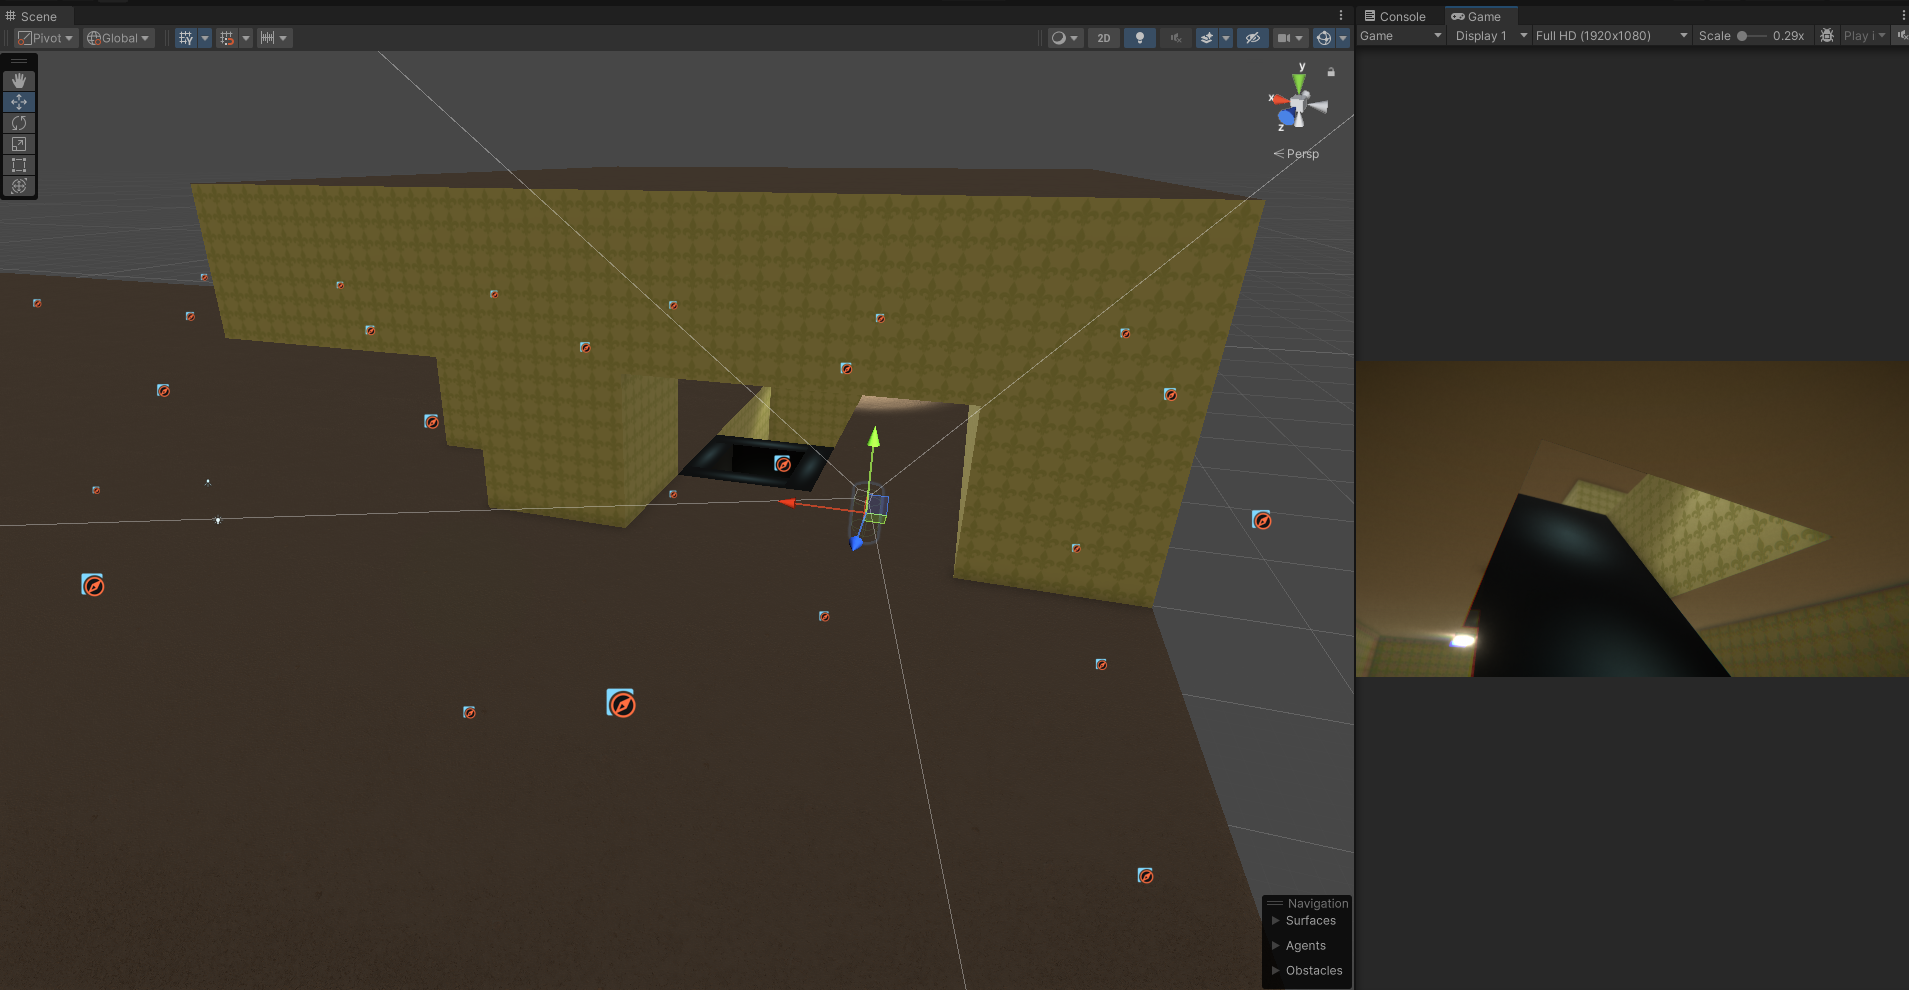
Here is an example of what we mean. As you can see the player is looking up a staircase and we're attempting to render the minimum amount of world we can to prevent them from seeing into a void. The transform and frustrum on the left is the players transform and view frustrum as can be seen from their point of view on the right.
The narrow phase
The system takes the output of the broadphase which is the cells for the floor that the player currently occupies. It then uses Brensenham's line algorithm to do cheap "raycasts" across the grid originating from the tile the player is standing on.
The process goes roughly like this. First we define the following data :
- nextQueue : the next cell we want to process for occlusion
- visitedCells : fairly self explanatory, to avoid doing duplicate work and converging on the process's completion
- visibleCells : the final occluded visibiliy set we're building up to render
Each time the player moves from one cell to another we run the occlusion algortihm with the player's new cell initializing nextQueue as the sole entry in the queue.
We then deque from nextQueue until it's empty doing the following :
- Get all adjacent cells to dequeued cell then filter out any cells that intersect with the visitedCells set. Separate result into void(non-blocking) and wall cells.
- For each void cell :
- Add the cell into the visitedCells sets.
- Do a brensenham "raycast" from player cell to this cell.
- If the raycast succeeds add this tile to the visibleCells set and to the nextQueue.
- For each wall cell :
- Add the cell into the visibleCells and visitedCells sets.
- For each void cell :
This gives us a set of objects on the floor that we do not want to hide. In the next phase we use that information to make the final visibility result and we're done.
Here is an example of the result. As you can see we're able to further cull cells on the same floor without the player being able to see into the void.


Issues with the second phase
While we had some further performance improvements with the second phase I also found that the results could now result in edge cases that cause visual anomalies resulting in the player being able to see void in the distance when rooms are very large or long. Here is an example of the issue.

Step back and write some debugging code
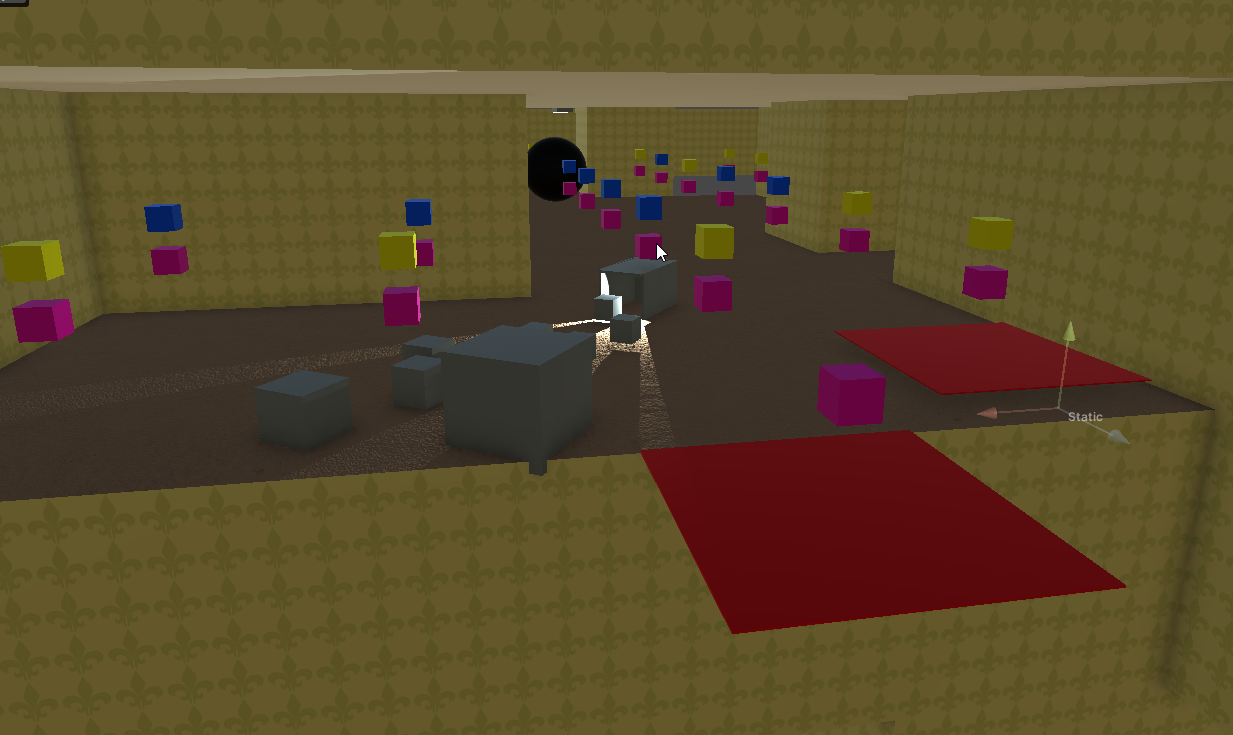
I had some theories about this but past experience has shown me that spending a little time writing a visual debugger can help find and solidify the theory about why something isn't working so I took a little detour to write a sysetem that overlays some visual debug information into the world about the occlusion system. Different coloured blocks mean different things about cell and query results such as the cell type detected, whether the cell was visited etc.
Here is some images of the debugger.

Reason for issues
The reason this was happening was mainly due to the fact that I'm trying to be cheap in both computation complexity and developer time by doing all my "raycasts" on a grid with integral coordinates via Bresenham's algorithm. However the game takes place in a world with real number coordinates and a player could be close to the lower corner of a grid cell and be able to see another grid cell in the distance. By working in integer coordinates for performance reasons I lose some accuracy.
The fix
I had no intent to do anything more complicated for this occlusion system and felt that starting to use raycasts was a bit of a rabbit hole and might take up a lot of development time.
After some playing with the visual debugger and trying a few different things I found I was able to make the problem going away by essentially defining a kernel of cells around the raycast target and raycast to those as well. If any of them pass the raycast I assume the object is visible.
The kernel currently looks like this where the red cell is the raycast target cell and the purple ones are the kernel extra raycast targets.

This solution is far from scientific and I came to it from general observation but it does the trick. it can cause some overdraw and extra calculations but not enough to cause the framerate to drop below 60 on the minimum spec machine in the worst case.
Conclusion
Overall I'm happy with how this went. I'm happy with the performance gains but I'm even more happy with the gains for such a short development time. I wanted to spend as little time development time and complexity as possible to get acceptable performance and I think I did about as good as I could have hoped for.
References :
- Unity occlusion culling documentation (2022.3) https://docs.unity3d.com/Manual/OcclusionCulling.html
- Backrooms wiki http://backrooms-wiki.wikidot.com/
- Bresenham's line algorithm https://en.wikipedia.org/wiki/Bresenham%27s_line_algorithm